For years my homelab had been humming along inside an old Supermicro CSE-822 chassis — a tank of a case, no doubt, but definitely showing its age. Inside, my Unraid server ran on what used to be my daily driver: an Asus Maximus IX Hero with an Intel i7-7700K and 32GB of RAM. It worked fine, but it wasn’t exactly built for sipping power. And since most of my homelab sits idle, efficiency was always nagging in the back of my mind.
So when I stumbled across a Rosewill RSV-4500U case on eBay for $55, it felt like the perfect excuse to tear everything down and rebuild it properly. This time, the upgrade centered around a Supermicro X13SAE-F motherboard (also an eBay find, complete with minor HDMI port damage because apparently I have a thing for eBay hardware) and an Intel Core i5-13600T. A low-power workhorse designed to balance performance with efficiency, the 13600T was exactly the kind of CPU you want when the system spends most of its life idle but needs to wake up fast when duty calls.
Breaking It All Down
Moving servers isn’t glamorous. It’s unscrewing, cutting zip ties, and untangling years of “I’ll fix that cable later” decisions. It’s the delicate dance of pulling drives without forgetting which bay they came from. And, of course, it’s that one stubborn screw that refuses to let go until you threaten it with the big screwdriver — aka a drill.
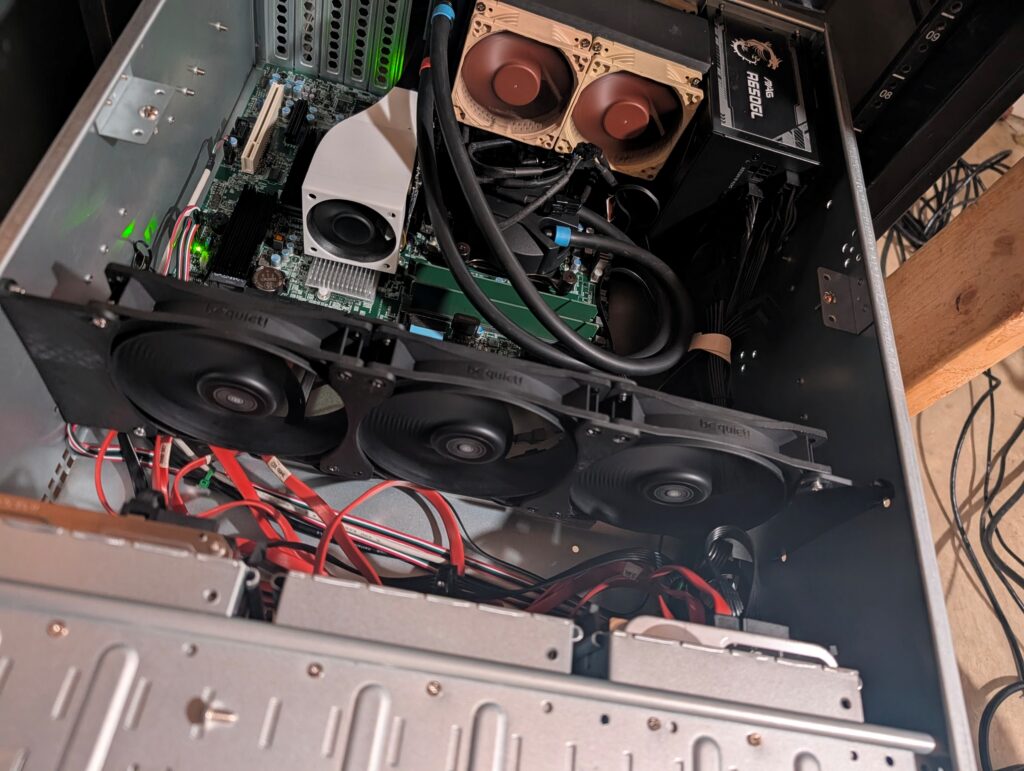
Once stripped, the old hardware got pulled aside, and the new Supermicro board went into its new home. I slotted in RAM, carefully seated the processor, attached the back bracket, and finally dropped the motherboard into the new, enormous case. I even had time to drain and refill the 80mm AIO (Asetek C6J) I’d found on eBay — which, by sheer luck, fit perfectly with the Asetek bracket I had lying around.
That was the bare-minimum rebuild. But there was still a mountain of problems left to solve: how in the world was I going to hook up six fans to the board, connect seven SATA drives plus three NVMe drives, and somehow not create a small furnace inside the case?
At that point, I knew there was only one place to go. The store. You know the one… Microcenter. The place where your money disappears, and somehow you’re not even mad about it.
After the drive up, I came home armed with fans, connectors, splitters, a bigger power supply, spools of 3D filament, and a few other odds and ends. With that haul, I finally had what I needed to start rigging this bad boy up — including figuring out how to mount that tiny AIO onto the dual 80mm slots at the back of the case.
The Cascade Effect
The beauty of upgrading gear is the cascade. The new hardware takes over the flagship role, and the old hardware gets reborn with a new purpose.
My trusty CSE-822 case wasn’t going into retirement. I dropped in a Supermicro X10SL7-F board and the Xeon E3-1270 V3 I had lying around, added a few leftover drives, and fired up Unraid on it. Just like that, I had a dedicated Nextcloud server for the family.
It wasn’t about speed — it was about utility. With Unraid providing parity and flexibility, this second box became the perfect private cloud for storing photos, syncing documents, and keeping everyone’s files organized. No subscriptions, no third-party risks, just a DIY solution humming away in the basement with as much storage as I can cram into six drive slots.
Rack Toys and 3D Prints
Around the time I was installing the new rack rails for the main server — and moving the old rails down to fit this honkin’ 4U beast — I found myself crawling into the cold little space under the stairs where the homelab lives. While digging around, I tripped over a box my neighbor had dropped off a few months back, filled with old monitors. “Figured you’d have a use for these,” he’d said. Turns out, he wasn’t wrong.
With the 3D printer already buzzing from my Microcenter haul, I designed and printed a custom bracket, then mounted one of the screens right onto the network rack. Now I had a dedicated status display for dashboards and logs. It’s one of those upgrades you never plan for, but once it’s there, you wonder how you lived without it.
By then, the new server was finally mounted into the rack, all but one final item tackled… the AIO. For now, it’s still floating inside the case with air flowing across it from the front fans. A little janky, sure — but that’s the charm of a homelab rebuild.
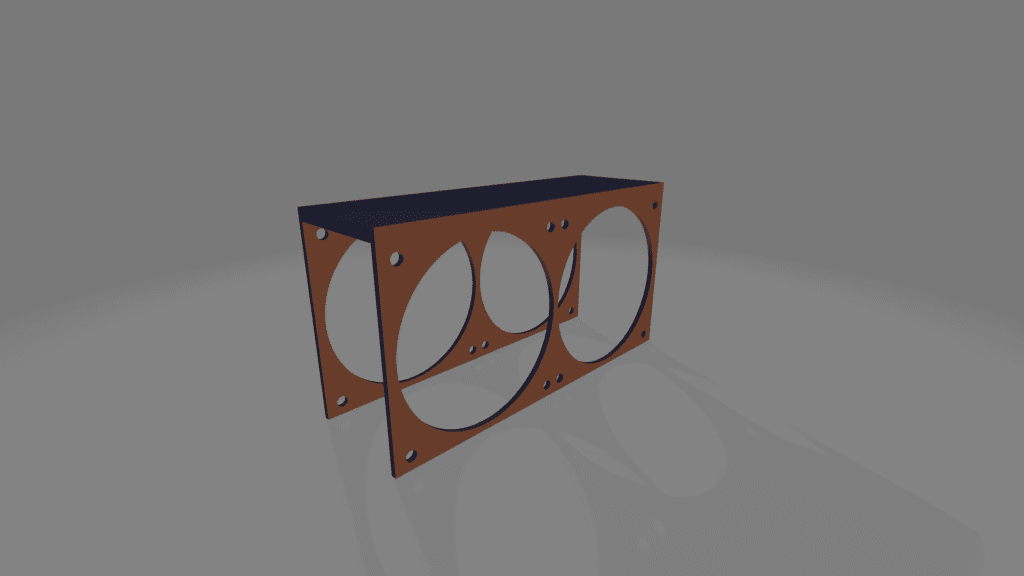
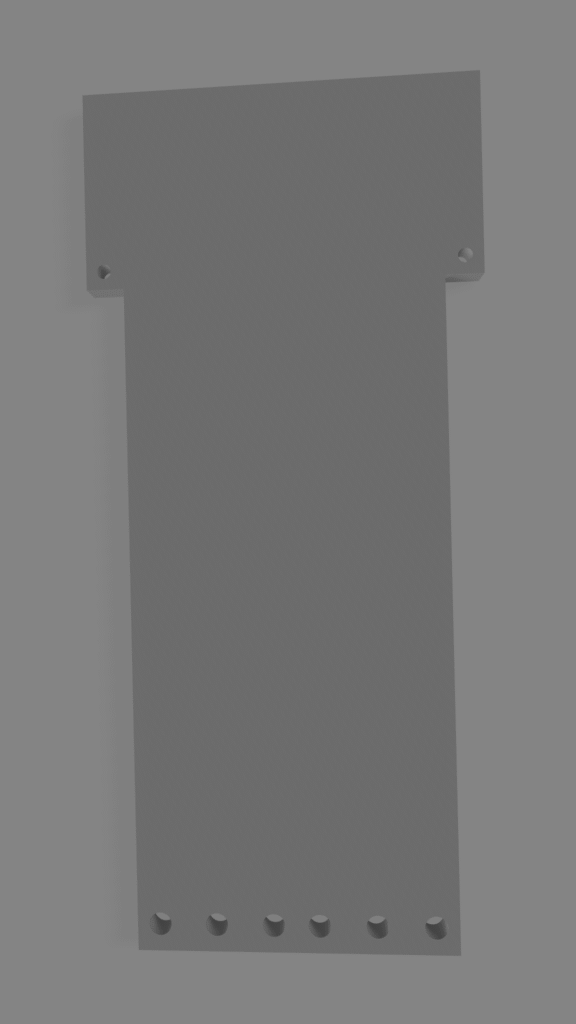
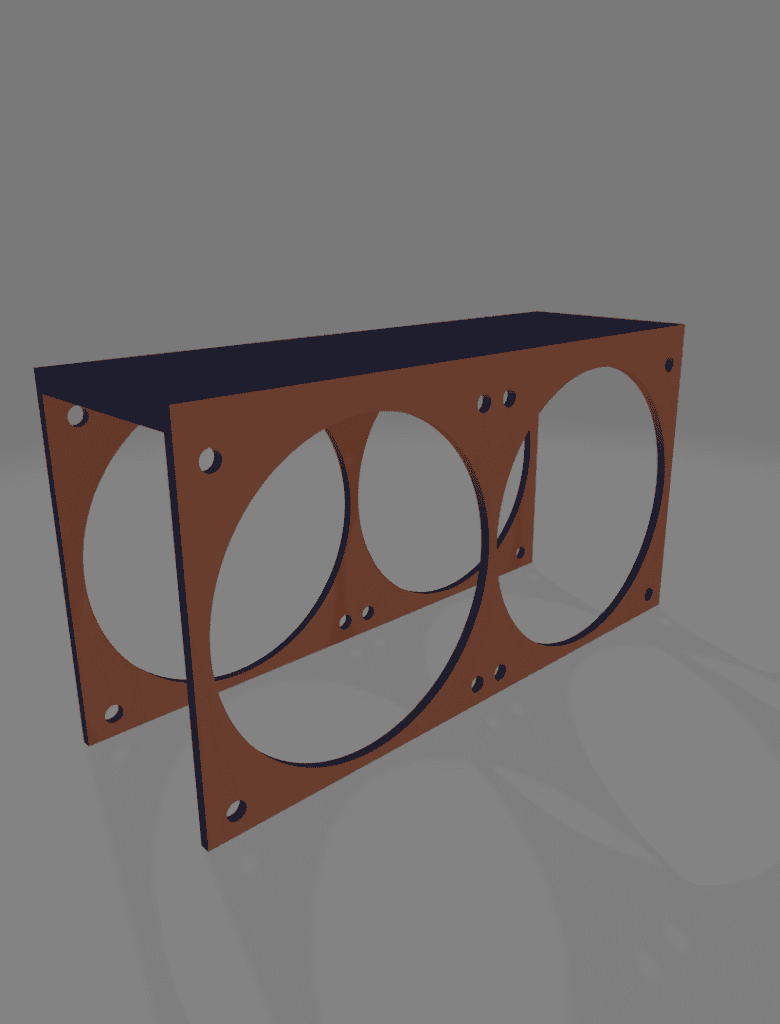
I decided it was time to figure out this AIO situation, as I wanted to ensure we’re running as cool as possible as that basically guarantees that area stays cool and my hardware is running as peak efficiency. I slid the server out of the rack, opened it up and powered everything down. I then removed the old AIO that was sitting there and went to town on my computer custom designing the best possible mount that I could make that would let me fit 4 80mm fans on it for a push pull configuration, but also somehow also didn’t slip out of the mount. I had a challenge ahead, and pushed ahead.
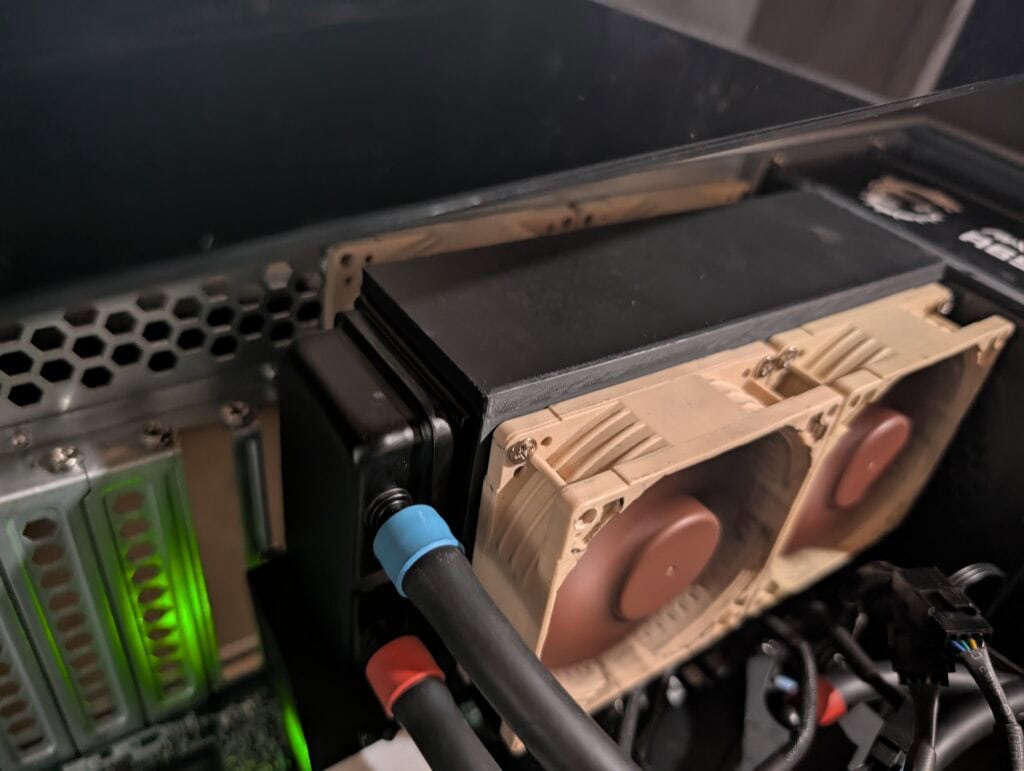
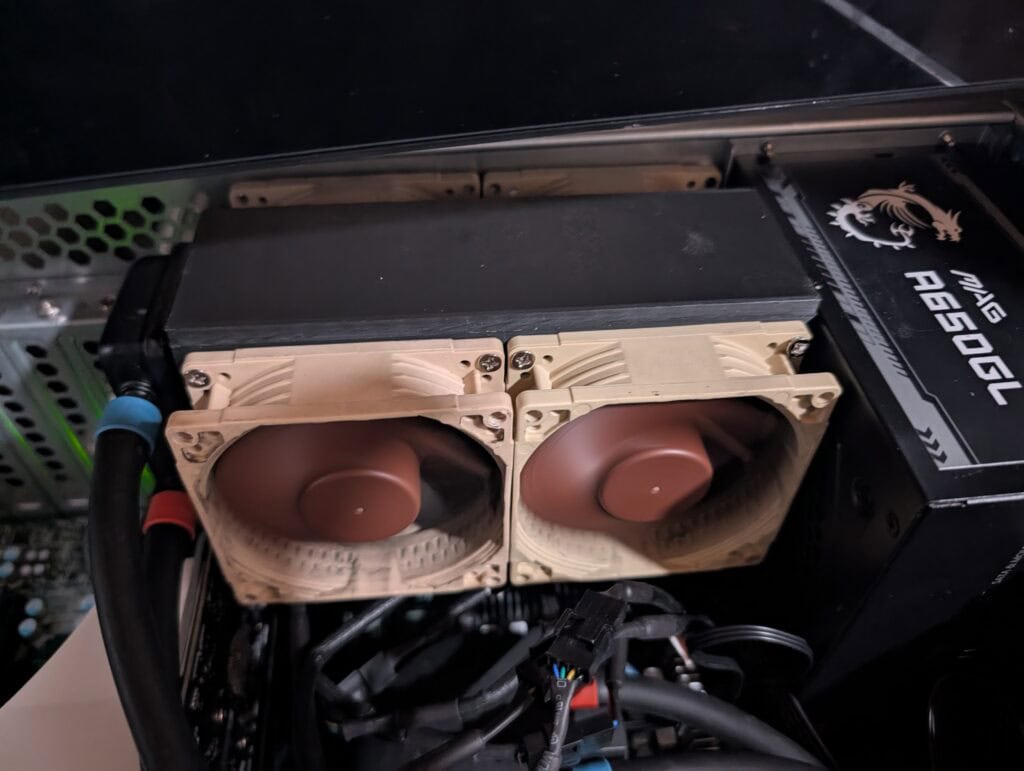
That brings me to the mount! After taking some basic measurements I finally had the block measured out in my 3d design software – Fusion 360. It was time to start designing for this bad boy. After a few trials and errors, I came up with this design. It was slim and measured perfectly so the screws that poked through when a fan is screwed in just squeaked past the lip of the radiator to hold it all on and together. We could now mount the 4 noctua NF-a8 fans I had to the radiator and bask in the coldest temperatures I had seen in a hot minute!

The rebuild was final, I had both systems up and running, and somehow between the new hardware, and the hardware from the very first server I had built, it was pulling down less wattage than the Asus Maximus and 7700k I had in there previously. Which is great in my opinion as I have a failover machine if needed, and dual arrays with parity (I’m still waiting Unraid!).
Looking Back
What started as a $55 eBay case turned into a full-blown rebuild adventure. I tore everything down, reassembled it with modern, efficient hardware, spun up a new Nextcloud box for the family, designed and printed custom parts, raided Microcenter for more gear than I planned, and even added a neighbor-donated rack display.
The main server is leaner and smarter, the old case lives on with a new purpose, and the rack feels more alive than ever. And sure, the parts I had made don’t fit perfectly here, but thats what make this homelab unique! It also means that this project isn’t truly finished. (Are homelab projects ever finished?)
You can find all of the files that I made on my printables page as well as additional pictures of the finished rack below!
https://www.printables.com/@ShunHax_3767521/models